User Guide To Install Syncro Support Agent – macOS
Scope:
This guide explains how to install the Syncro support agent on macOS so our IT team can monitor system health, apply updates, and provide remote assistance when needed.
Supported macOS Versions
These instructions apply to macOS Sonoma (14) and newer versions.
(If you are running an older version of macOS, some steps or permission prompts may appear slightly different.)
1. Download the Installer
a. Use the download link provided by our team.
b. Once the download finishes, locate the installer file in your Downloads folder.
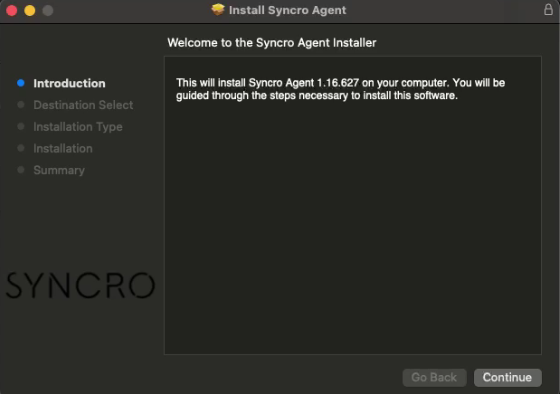
2. Start the Installation
a. Double-click the downloaded installer file to launch it.
b. Follow the installation prompts on the screen.
c. When prompted, choose Install for all users of this computer.
d. Click Continue, then Install.
e. You may be asked to enter your Mac administrator password to allow the installation.
The Syncro agent will now begin installing on your device.
3. Allow Required macOS Permissions
macOS requires certain permissions before remote management tools can function properly. During installation you will see prompts asking for access. These permissions must be approved manually in System Settings.
Open:
System Settings → Privacy & Security
Enable the following permissions for SyncroMSP:
1. Full Disk Access – allows the system to monitor files and system health.
2. Screen Recording – required for remote support sessions.
Once these permissions are enabled, return to the installer and continue.
macOS security settings must be approved locally on the computer before remote access can work.
4. Enable Remote Support Permissions (Splashtop)
After the Syncro agent is installed, the remote support component may request additional permissions.
In System Settings → Privacy & Security, ensure the following are enabled for Splashtop Streamer:
Accessibility
Screen Recording
Full Disk Access
Microphone (if prompted)
These permissions allow technicians to view and control the screen during a support session and access files if needed.
If prompted, select Quit & Reopen so the application can apply the new permissions.
5. Complete the Setup
Once all permissions are granted, the installation is complete.
You may see confirmation indicators or status messages showing the permissions are active. If everything is enabled, your Mac is now ready for remote support.
Please note: Its recommended to restart your Mac to ensure all services start correctly!